

How to Create Social Media Graphics Without Using AI
We’ve all seen it. The hideous posters and social media graphics with AI written all over them. 🫣
If you run your own business, you probably didn’t set out to be a content creator.
You also probably didn’t set out to become a graphic designer either.
When you have enough going on running your own business, it’s sure a lot to take on to learn a new skill and grow enough to be able to hire someone else to do this for you.
If you’re anything like me and tired of seeing so much content out there “Made with AI,” I’m here to tell you that there are plenty of other, authentic ways to create content and graphics for social media.
When creating authentic content feels challenging, remember that it’s not rocket science. You don’t have to be a professional photographer, graphic designer, and content creator (on top of running your business) to get your message out there in a way that aligns with your brand and feels authentic to you.
And, it’s more than ok to try different methods to see what resonates best with your audience!
Handwrite Your Message
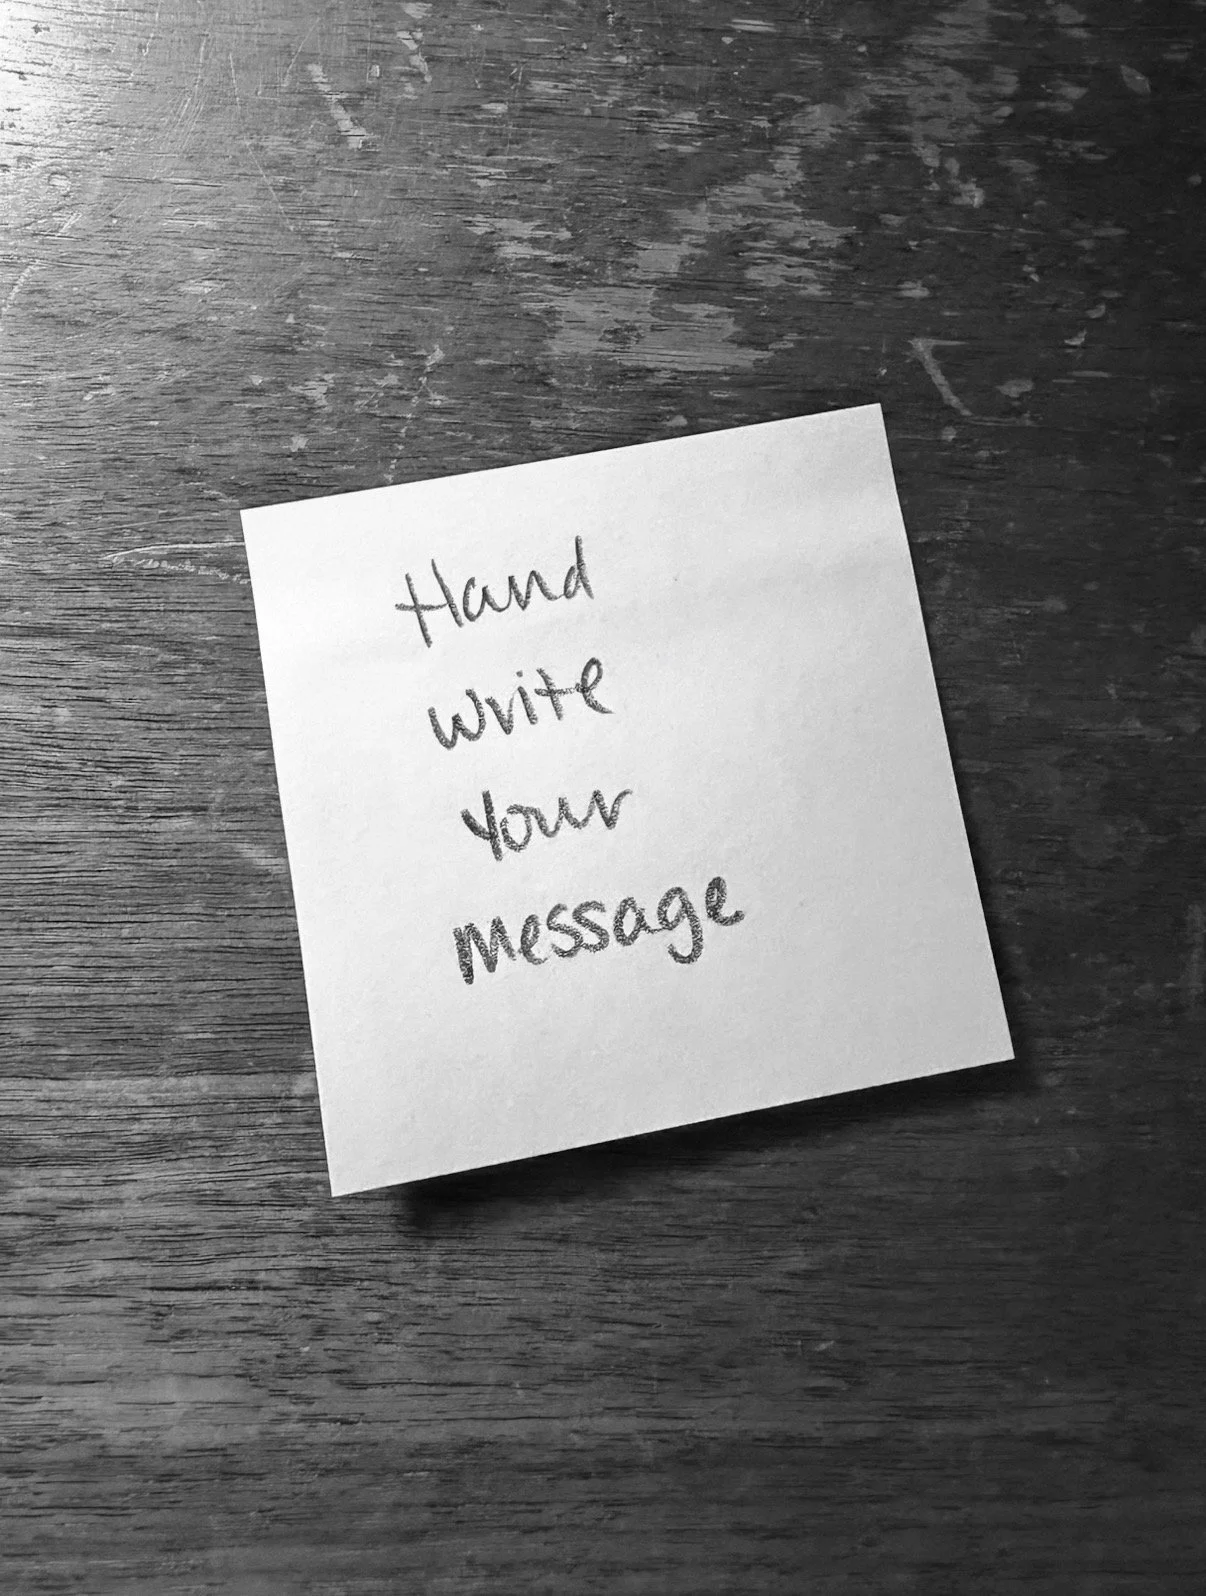
Whether you use a branded notepad or a lined sheet of paper, using your own handwriting is about as authentic as it gets! Bonus points if you take a video while you’re writing it.
Not only does this handwritten message feel like a little love note, you also have lots of options with materials. Colored paper, lined paper, sticky notes, whiteboards, pens, pencils, markers, crayons–use what aligns with your brand and write it out!
Screenshot Your Typing
Type in your notes app, Google Docs, or another app that you like, then take a screenshot to turn it into a photo you can use.
Change your font to match your brand
Use formatting so your copy stands out
Highlight a point for emphasis
Add an image and / or your logo to keep it aligned with your brand
Use A Program That You’re Already Familiar With
I’m a big fan of maximizing the use of programs we’re already familiar with and already paying for.
If you’re more familiar with something like Keynote or PowerPoint, set up a custom page size for your intended post. A quick Google search for the right size will help you set it up.
Depending on the program you’re using, you’ll likely have more options for text, color, shapes, etc. Just be sure to use your brand colors and fonts!
Add Text to Your Photo
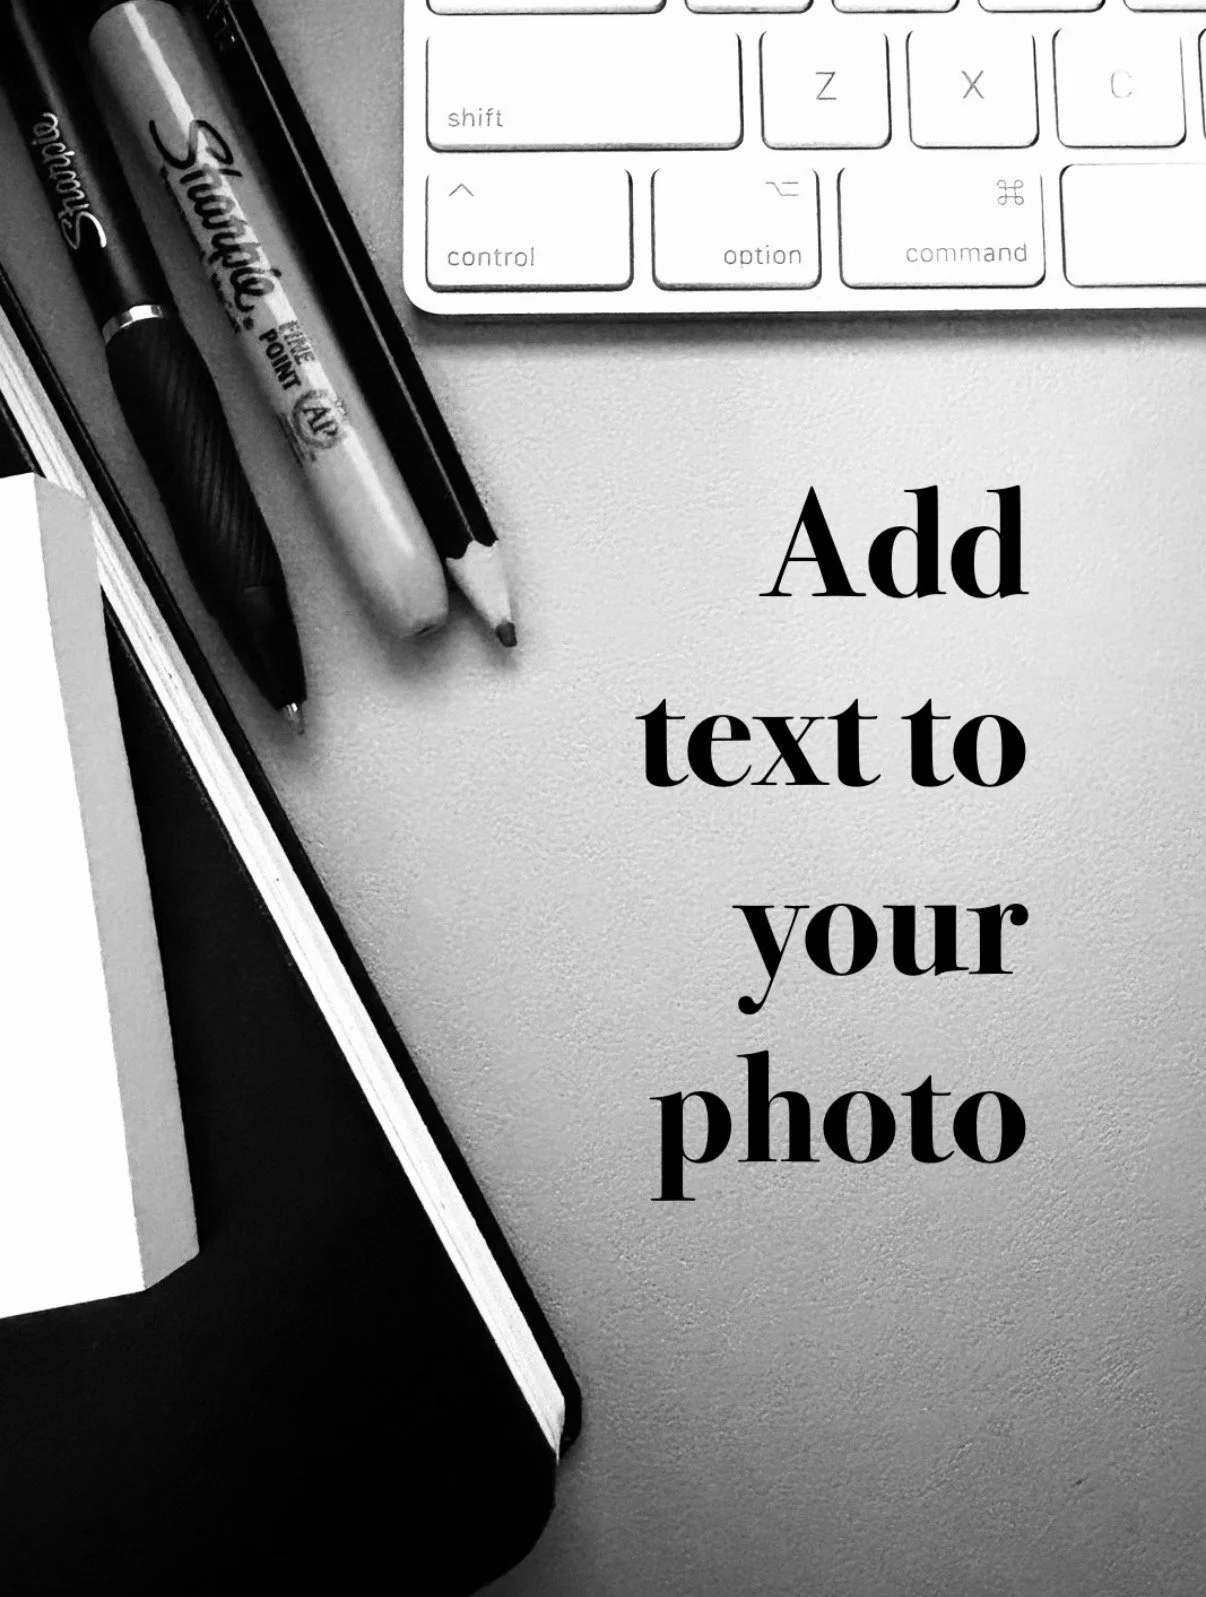
I’m pretty confident that nearly any device you use can add text to a photo.
First, take a photo with plenty of ‘white space’ so that your text will actually be readable (hello, accessibility). Think: blank paper, a backdrop, wall space, the sky, your desktop, or basically any way you can incorporate a little extra breathing room around your subject. The less busy it is, the better your text will read.
For iPhone, go to a photo you like, tap the edit sliders at the bottom, then tap the markup icon in the top right (it looks like a marker within a circle). It may prompt you that it will turn off Live Photo, so tap OK.
From here, click the tiny plus sign in the bottom right corner, then ‘Add Text’ to add your text. You can change the font by tapping the letters, and change the color to a high-contrast color against your background–preferably to also align with your branding.
As a side note, there are different photo editing options depending on whether your photo is a .heic or a .jpg. I believe that most photos will come across as a .heic, but if you take a screenshot, boom, .jpg. Different photo editing options. 🤓
So take a peek and discover what works best for being consistent with your brand.
On Instagram, go in to add a new post, select your photo, and in the bottom options, click ‘Text’ to add your text. You’ll have some options to change the font, alignment, and your color. I also like that you can add a black or white background to your text for busier backgrounds. You can get creative here too. See what fits.
Just Use a Photo
You can also use a photo of yourself with a caption.
This is my favorite option because, one, it shows you as the face of your business, and two, seeing another human doing rad things is a great way to build trust and connection with your audience.
But do we always show our faces? I sure don’t.
Whatever you decide for the content of the photo, use one that tells your story, showcases your product or service, and uses a consistent style across all your photos.
📸 Take a photo of your current desktop or studio workspace.
📷 Take a photo of something you’re doing in the moment that relates to the message you’re conveying about your brand.
🤳🏼 Take a photo of yourself, doing some thing, some where, while also wearing your brand colors. Use the same photo for each slide in your carousel, with different text.
Or use a photo of you in a single-photo post, because who can keep up with what the algorithm wants (are carousels not performing as well now or what, because who even knows).
In case you missed it: Instagram posts are showing up in Google search results. Good captions are more important than ever. Unless you add all the text on top of your photo to the alt text caption in addition to your regular caption, Google won’t be able to ‘read’ the text on your graphic, and your post could be missed. Pro tip: Don’t post a photo without a caption.
Keep it Simple
So, keep it simple, my friends. Get creative. You can do this.
None of these are complicated, but they are authentic. And free.
Need Additional Help?
And I’m always here 👋🏼 if you need professional support creating custom templates for your brand and business goals.
Booking a Studio Session is a great way to get some professional help if your needs extend beyond the tips I’ve shared here, and we can use them in a couple of different ways:
→ Create custom templates tailored specifically to your brand and business
→ Have a strategy session to discuss creative direction or photo styling that aligns with your brand
→ Go through an audit of your social media profiles and rebuild with improved messaging
→ Use the time as a tutorial for how-tos and best practices so that you can feel more confident posting
